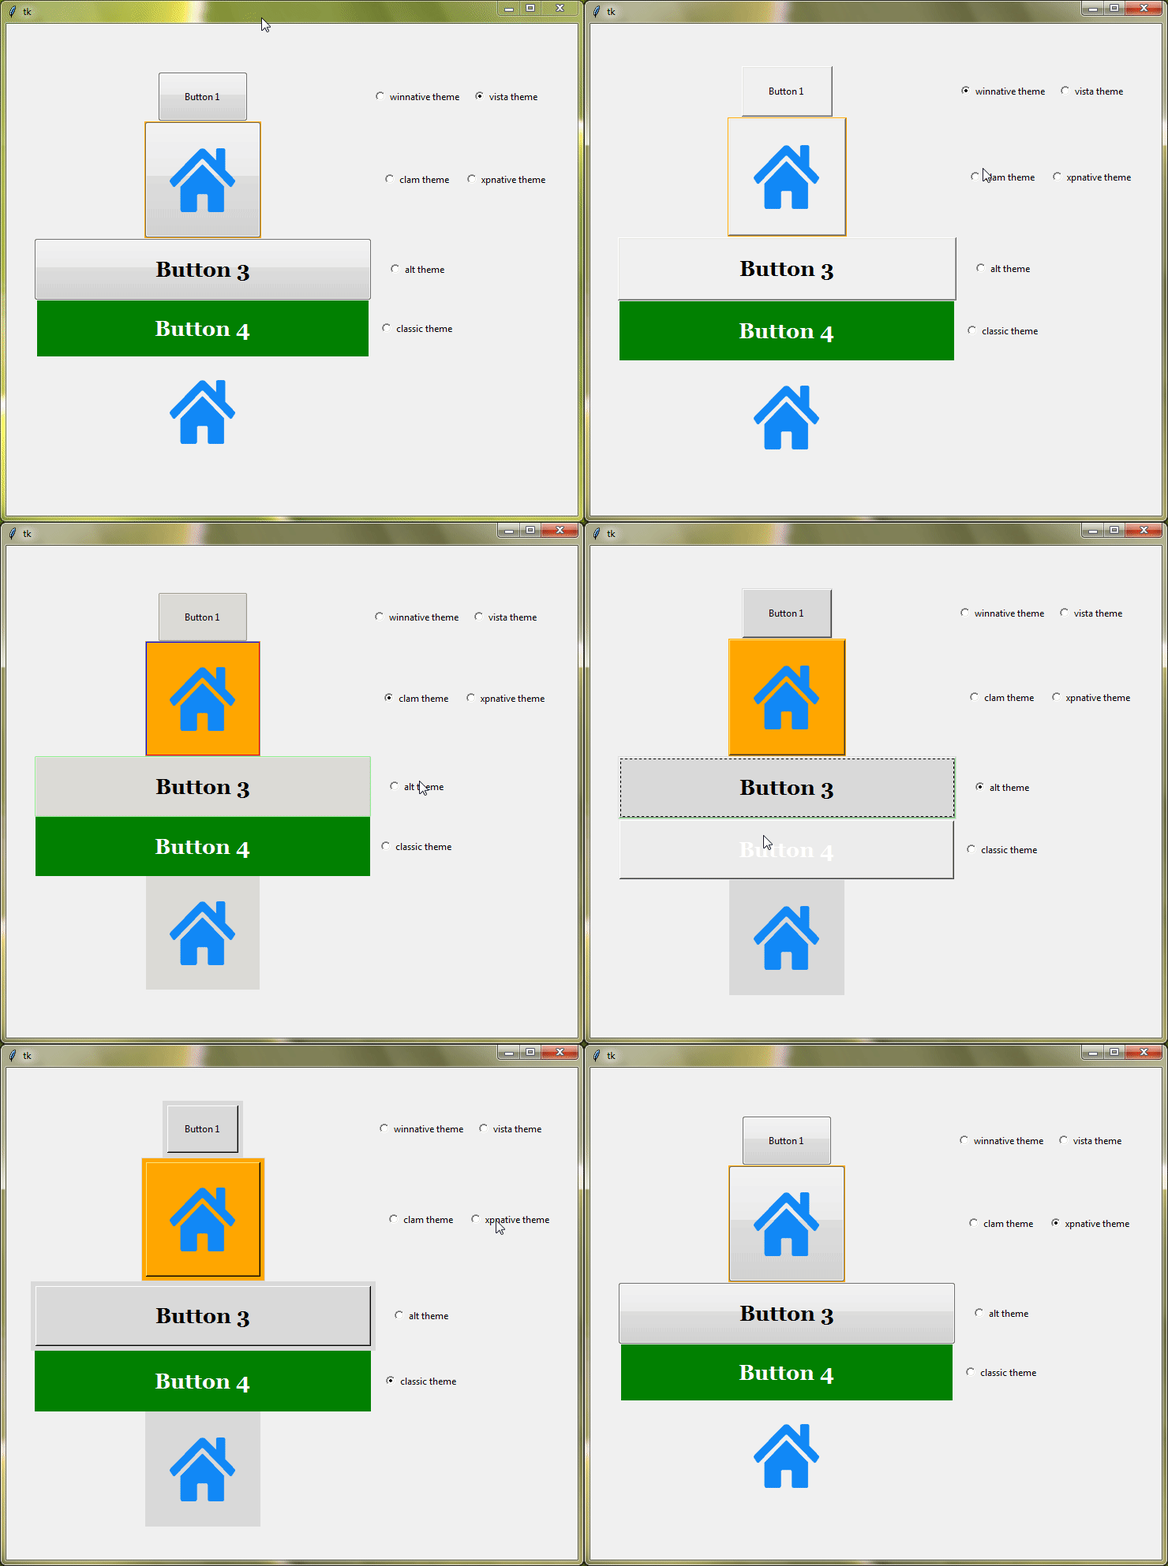
Tkinter Introduction
Are you looking to enhance your Python programming skills by creating graphical user interfaces (GUIs)?
Then, welcome to our comprehensive guide to Tkinter, one of the most popular GUI (Graphical User Interface) libraries for Python. In this post, we’ll walk you through everything you need to know to get started with Tkinter, from understanding its basics to creating your first GUI program.
What is GUI if you ask?
GUI stands for Graphical User Interface. It’s basically what you see and interact with when you’re using a computer program or a device like a smartphone or tablet.
Tkinter is a built-in Python library used to create GUI applications. It provides a simple and efficient way to create windows, dialogs, buttons, menus, and more. Tkinter is based on the Tk toolkit, which is a cross-platform GUI toolkit that originated as a wrapper for the Tcl/Tk language.
Create Your First Tkinter Program
Let’s dive right in and create your first Tkinter program – the classic “Hello, World!” application. Open your favorite Python editor and create a new Python file. Then, type in the following code:
Example:
import tkinter as tk

# Create a window
window = tk.Tk()

# Add a label
label = tk.Label(window, text="Hello, World!", font="arial 18 bold")
label.pack()

# Start the Tkinter event loop
window.mainloop()
In this code:
The Tk() function is used to create the main application window where we can put things like buttons or text boxes.
And the mainloop() method is a crucial part of any Tkinter application. By using this method, we’re telling Python to keep an eye out for anything that happens in the window, like clicking a button or typing on the keyboard. This keeps our program running and responsive to what the user does.
Output:

Widgets in Tkinter
Tkinter provides a variety of widgets that you can use to build your GUI applications. Some commonly used widgets include:
- Button: Used to add buttons to the interface.
- Label: Displays text or images.
- Entry: Allows users to input single-line text.
- Text: Allows users to input multiline text.
- Canvas: Used for drawing graphics.
- Frame: Container to organize and group other widgets.
Example:
import tkinter as tk

# Create a window
window = tk.Tk()

# Add a input Box
entry = tk.Entry(window, font="arial 18 bold")
entry.pack()

# Add a button
button = tk.Button(window, text="Click Me!", font="arial 18 bold")
button.pack()

# Start the Tkinter event loop
window.mainloop()
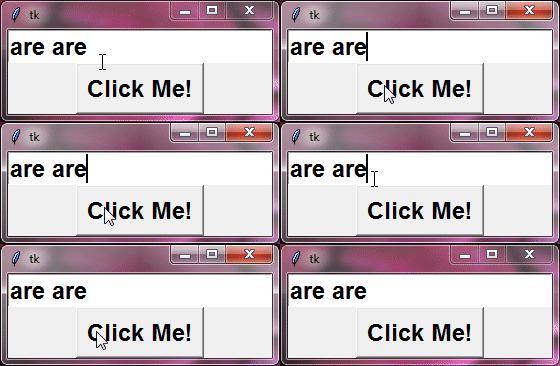
Output:
Event Handling For Interactive Applications
In Tkinter, you can make your applications interactive by handling events.
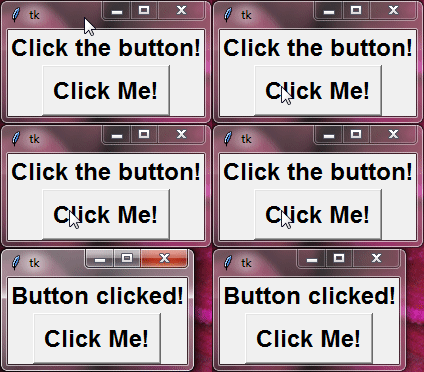
Event handling is the process of responding to user actions such as mouse clicks, key presses, and window resizing. You can bind functions to specific events using the bind() method or by using the command attribute for certain widgets like buttons. This allows you to define how your application should react to user interactions.
Example:
import tkinter as tk

def button_click():
    label.config(text="Button clicked!")

# Create a window
window = tk.Tk()

# Add a label
label = tk.Label(window, text="Click the button!", font="arial 18 bold")
label.pack()

# Add a button
button = tk.Button(window, text="Click Me!", command=button_click, font="arial 18 bold")
button.pack()

# Start the Tkinter event loop
window.mainloop()
Output:
Organize and Position Widgets
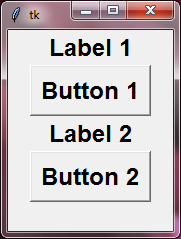
Tkinter provides various geometry managers such as pack(), grid(), and place() to organize and position widgets within a window. These managers help you control the layout and arrangement of widgets, ensuring that your GUI looks clean and professional.
Example:
import tkinter as tk

# Create a window
window = tk.Tk()

# Add widgets using the pack geometry manager
label1 = tk.Label(window, text="Label 1", font="arial 18 bold")
label1.pack()

button1 = tk.Button(window, text="Button 1", font="arial 18 bold")
button1.pack()

label2 = tk.Label(window, text="Label 2", font="arial 18 bold")
label2.pack()

button2 = tk.Button(window, text="Button 2", font="arial 18 bold")
button2.pack()

# Start the Tkinter event loop
window.mainloop()
Output:
Customization in Tkinter
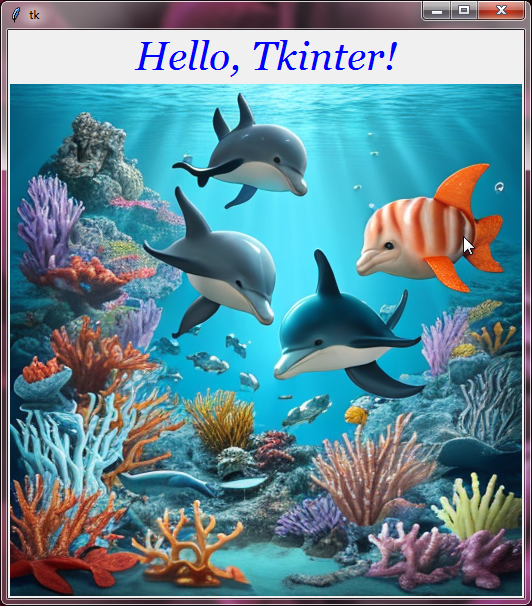
One of the key features of Tkinter is its ability to customize the appearance of widgets. You can change the size, color, font, and other properties of widgets to match your application’s design. Tkinter also provides support for themes, allowing you to apply pre-defined styles to your widgets.
Example:
import tkinter as tk

# Create a window
window = tk.Tk()

# Configure the label with a custom font and color
label = tk.Label(window, text="Hello, Tkinter!", font=("Georgia", 30, "italic"), fg="blue")
label.pack()

# Add an image
image = tk.PhotoImage(file="fishes.png")
image_label = tk.Label(window, image=image)
image_label.pack()

# Start the Tkinter event loop
window.mainloop()
Output:
